
Last updated November 15, 2026
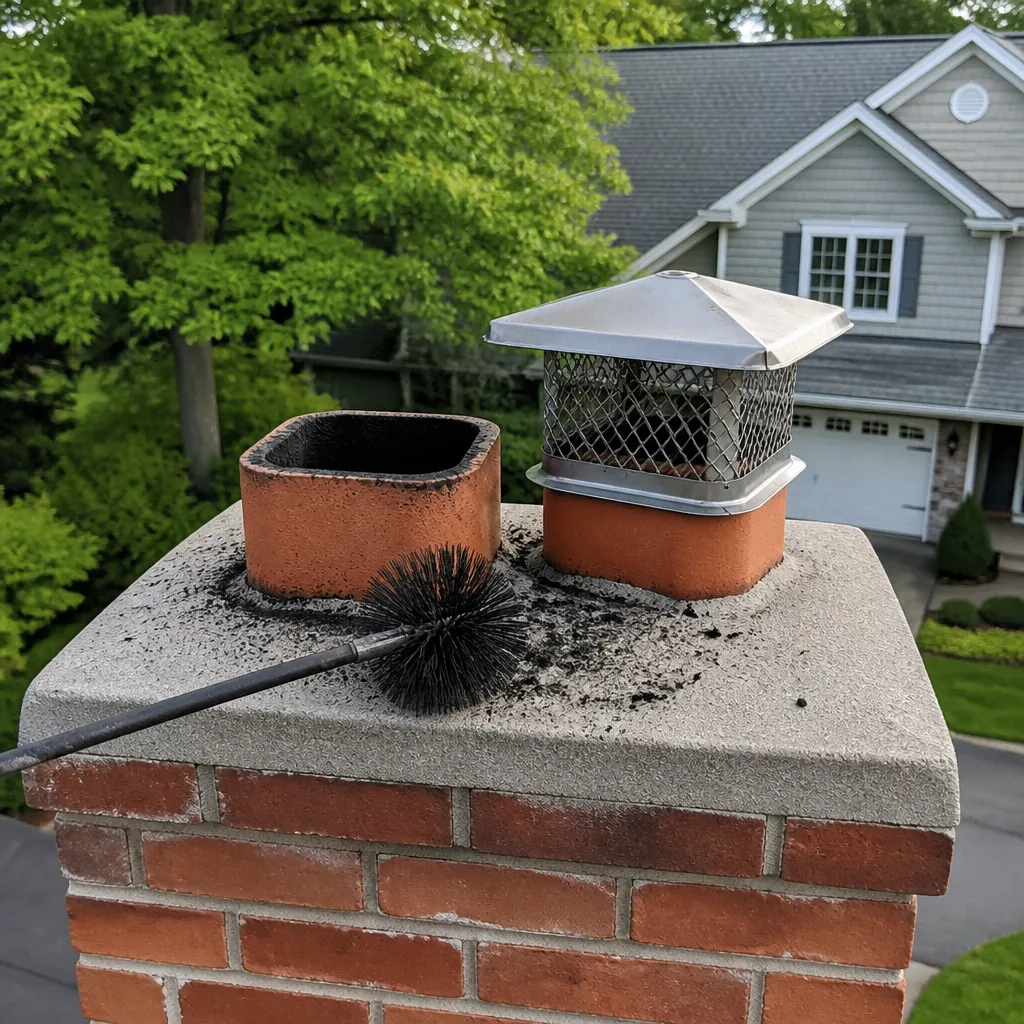 Sweep & inspection
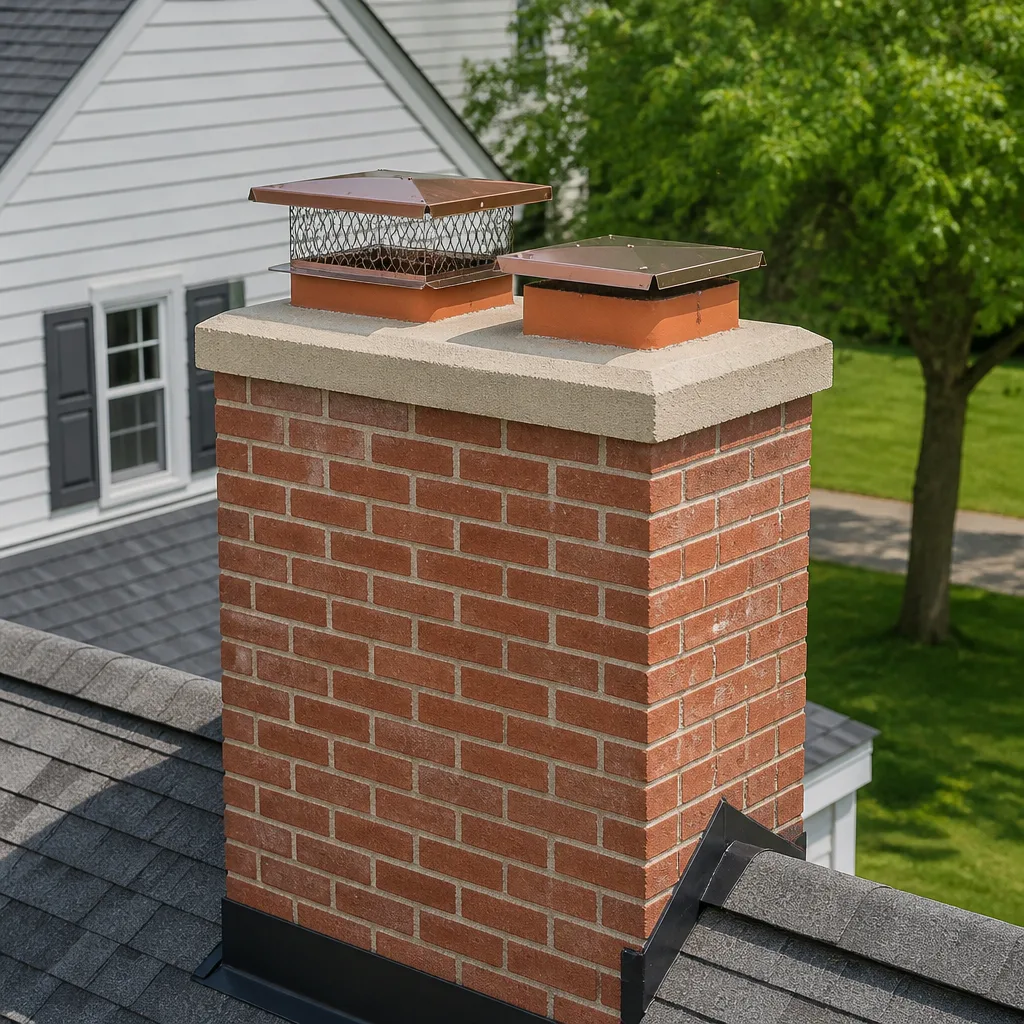 Caps & crowns
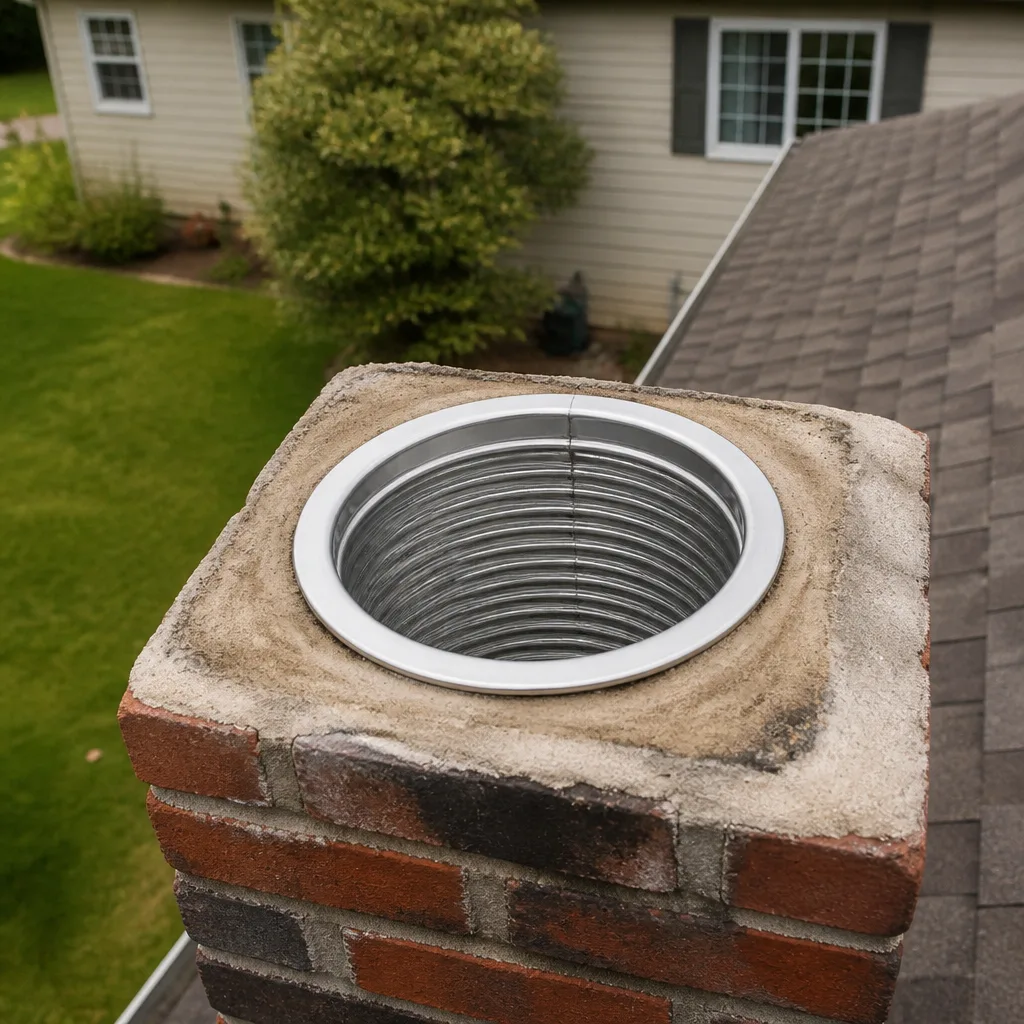 Flue relining
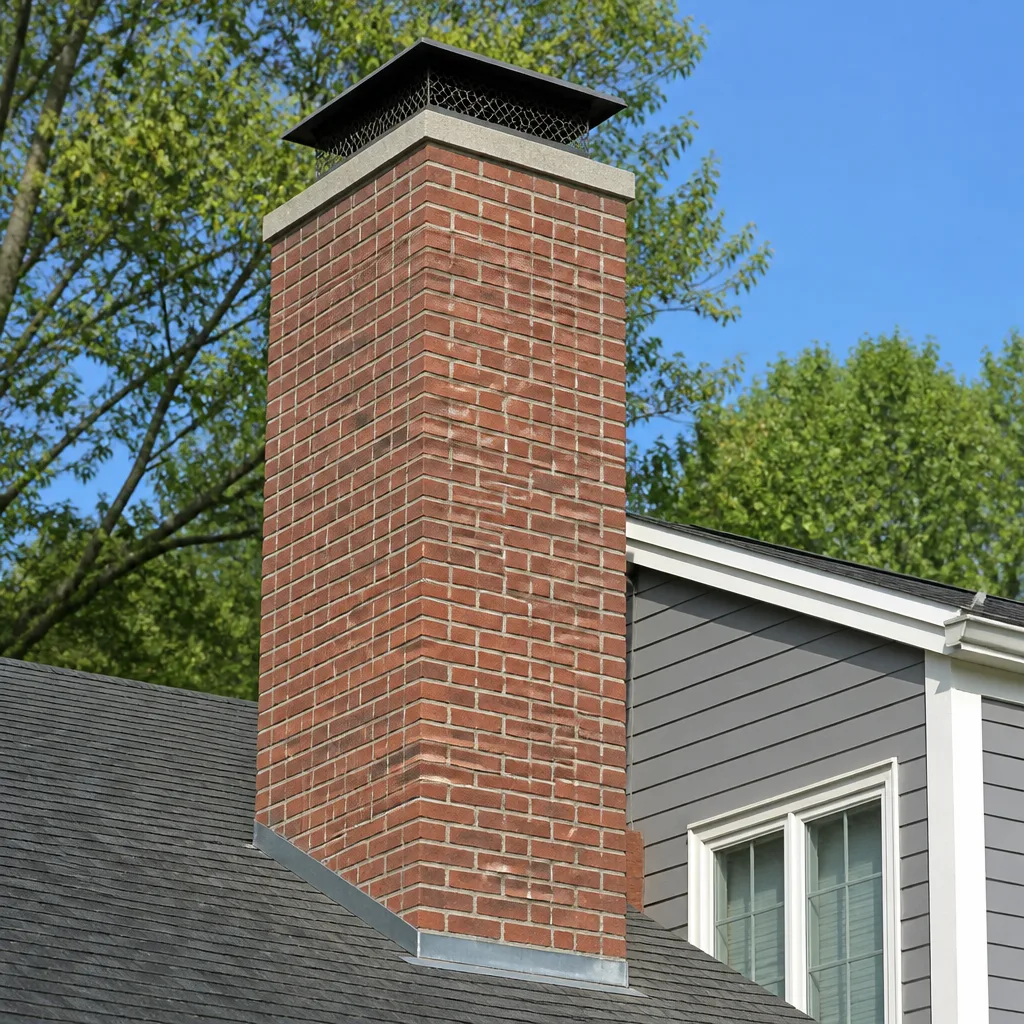 Masonry repair
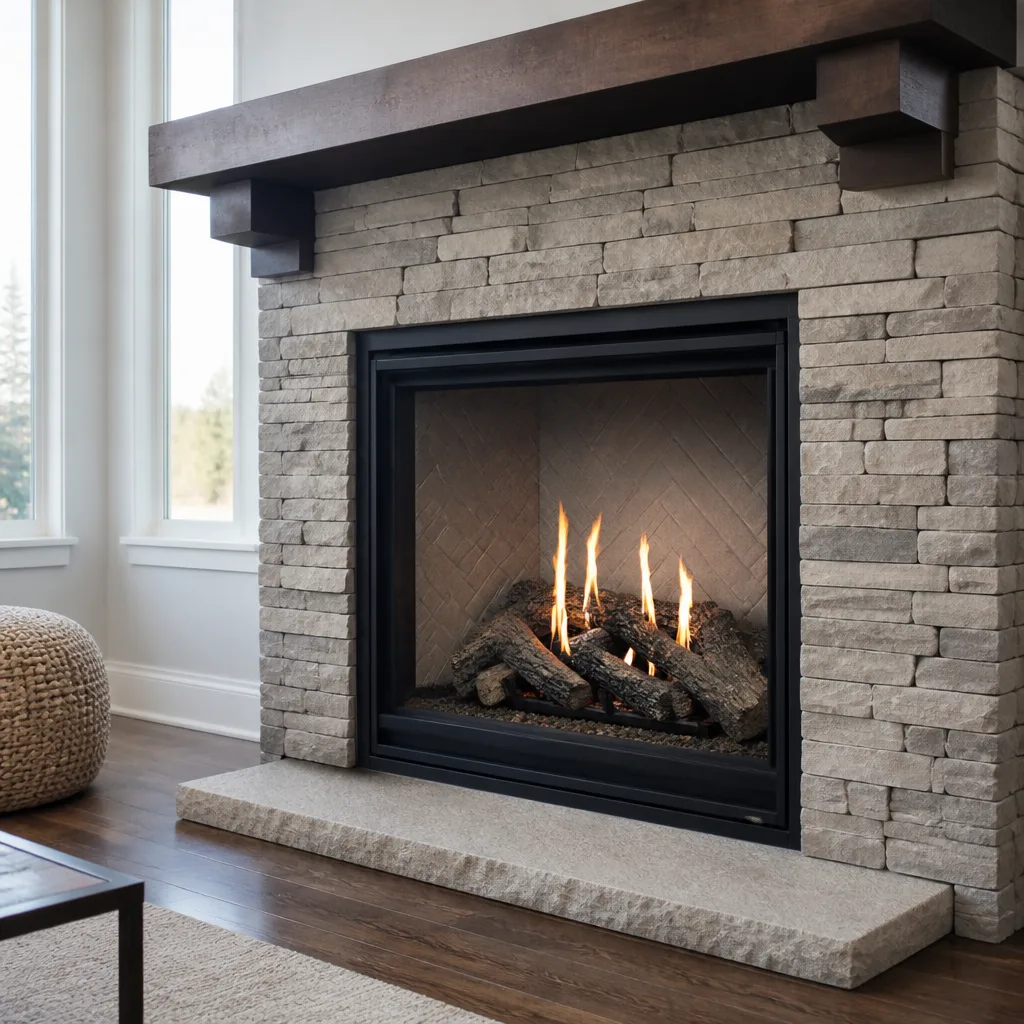 Gas fireplace service
Level 1 sweep and inspection to the NFPA 211 annual standard - flue, crown, cap, and flashing checked and photographed
Chimney sweep logs do not sweep chimneys. They loosen some creosote - which then falls where a brush and vacuum still have to collect it.
Chimney Sweep Maintenance Checklist for Edinburg Homeowners
The most expensive chimney repairs in South Texas usually don’t come from heavy use. They come from six months of sitting idle with an uncapped flue while humidity, wasps, and UV work on the masonry unnoticed. A checklist written for a Chicago or Denver home assumes ice and snow are the enemy. Edinburg doesn’t work that way. Here, the threats are moisture that never quite dries, insects that treat an open flue as real estate, and a sun that bakes the crown until hairline cracks turn into leaks. This guide gives you a maintenance calendar built around what actually goes wrong in Edinburg, with the tasks you can handle yourself separated clearly from the ones that need a professional.
Quick Answer
A proper chimney maintenance routine in Edinburg runs on three checkpoints: a pre-season inspection and sweep in October before you light the first fire, a post-season creosote and pest check in March, and one mid-summer look at the cap and flashing because that’s when UV and storm season do their damage. Sweeping is needed whenever creosote builds to about 1/8 inch, or annually if you burn regularly. Everything above the firebox, and anything involving the crown, liner, or smoke chamber, should be handled by a chimney professional rather than a general handyman.
Styles & brands we work with
- Sweep & inspection
- Caps & crowns
- Flue relining
- Masonry repair
- Gas fireplace service
Table of Contents
- Why an Edinburg Chimney Checklist Looks Different
- The October Pre-Season Checklist
- The March Post-Season Checklist
- The Mid-Summer Single-Task Check
- What You Can Check Yourself vs. What Needs a Pro
- How to Document Condition Year Over Year
- Crown, Liner, and Smoke Chamber: The Three Expensive Items
- Common Mistakes to Avoid
- Frequently Asked Questions
Why an Edinburg Chimney Checklist Looks Different
Most chimney maintenance advice you’ll find online was written for a climate with hard freezes and long burning seasons. Edinburg has neither. Winters here are mild, which means two things most homeowners don’t expect. First, the fireplace often runs less than the owner assumes, so creosote accumulates slowly and the yearly sweep feels less urgent than it is. Second, and more important, the flue sits idle for a much larger share of the year. Those idle months are when the real damage happens.
In a cold climate, the ground freezes, the air dries out, and masonry gets a break. In South Texas, the humidity stays high through spring and summer. An uncapped flue turns into a chimney-shaped trap: warm moist air rises into cool masonry and condenses, and over months that moisture works into the brick, the mortar joints, and the firebox walls. Meanwhile the summer sun hits the crown, the flat concrete cap at the top of the chimney, and bakes it. Small cracks open, rain gets in, and the cycle repeats. Add paper wasps, mud daubers, and the occasional bird nesting in an open flue, and you have the three categories that cause most of the repair work we see in this region: moisture intrusion, pest nesting, and crown deterioration.
None of that is a scare tactic. It’s simply the local pattern. A maintenance calendar built for Edinburg should be organized around it, which is why this checklist is split by season rather than by chimney component.
The October Pre-Season Checklist
October is the month to get the chimney ready before the first fire of the season. In Edinburg, the first cool evening can arrive with little warning, and the last thing you want is to discover a problem after you’ve already built a fire. Work through these items in order.
- Cap inspection. Look at the cap from the ground with binoculars if you can’t see it clearly. The cap keeps rain, birds, and insects out of the flue. A missing, cracked, or rusted cap is the single most common cause of off-season water damage. A proper stainless cap, like the ones we fit from Gelco or Olympia Chimney, is built to survive years of sun and weather.
- Crown inspection. The crown is the concrete surface that sheds water off the top of the chimney. Check for cracks, spalling, or a crown that no longer overhangs the edges. A failing crown lets water run straight down into the masonry.
- Flashing check. The flashing is the metal seal where the chimney meets the roof. Look for lifted edges, rust, or gaps. This is where most roof leaks around a chimney start.
- Liner condition. The liner carries smoke and gases out of the house. A visual check from the firebox and, ideally, a camera inspection from the top will show cracks, gaps, or heavy buildup. If the liner is compromised, it needs attention before you burn.
- Smoke chamber coating. The smoke chamber is the sloped area above the damper that funnels smoke into the flue. Its surface coating can deteriorate over time, which affects draft and can let corrosive deposits reach the masonry. This is a professional check.
- Creosote assessment and sweep. If you burn regularly, book a sweep before the season. Creosote at 1/8 inch or more should come out. A trained eye can tell you whether you’re a yearly-sweep household or a more-frequent one.
- Damper operation. Open and close the damper a few times. It should move freely and seal reasonably well when closed.
Most of these items are quick. The ones that matter most, the liner and smoke chamber, need a professional. If you’d like a full pre-season inspection done in one visit, a local chimney sweep can handle sweeping and inspection together so you’re not making two appointments.
The March Post-Season Checklist
By March, your burning season is mostly done and the chimney has collected a full winter’s worth of creosote, ash, and whatever else found its way in. The post-season check is about assessing condition while the season’s evidence is still there, before summer changes the picture.
- Creosote assessment. Have the flue checked after your last fire of the season. Even if you had it swept in October, a heavy burn year can leave a fresh layer. Creosote is the fuel for chimney fires, so knowing how much is there matters more than guessing.
- Pest evidence. Look for nesting material, wasp activity, or droppings in the firebox and around the damper. An open flue is an invitation. If you find evidence of a nest, don’t light a fire until the flue has been cleared and checked.
- Moisture staining on firebox walls. Dark streaks, white mineral deposits, or soft spots on the firebox brick or mortar point to water getting in. This is one of the clearest early warnings of a crown or flashing problem.
- Rust on the damper or firebox components. Rust inside the firebox is another moisture signal.
- Check the cap again. Winter storms and wind can shift or damage a cap that was fine in October.
If you find staining or rust, the next step is a proper inspection with camera evidence, not a guess. That’s the point where a chimney repair assessment makes sense, and it’s better done in March than discovered in October when you’re trying to light a fire.
The Mid-Summer Single-Task Check
This is the step almost everyone skips, and it’s the one that matters most in Edinburg. Summer is when the sun and the storms do their heaviest work, and the two items they target most are the flue cap and the flashing seal.
Set a reminder for mid-summer, when you haven’t thought about the fireplace in months, and do one focused inspection:
- Flue cap integrity. From the ground, check that the cap is still seated, not bent, not rusted through, and that the mesh or screen is intact. UV degrades some materials and wind can loosen a cap over a season. A loose cap lets water in and pests in.
- Flashing seal. Look at the metal where the chimney meets the roof. Check for lifted edges, cracked sealant, or gaps. Summer storms are the testing ground for this joint, and a small gap that opens in July can send water into the attic unnoticed until fall.
That’s it. One task, two items, ten minutes. It closes the gap between the March and October checkpoints, which is exactly the gap where moisture and pests get a foothold. If either item looks wrong, get it looked at rather than patched and forgotten. We use HeatShield ceramic resurfacing for the surfaces that need to be rebuilt rather than covered, because a repair should be built to last, not just to pass a glance.
What You Can Check Yourself vs. What Needs a Pro
Homeowners often ask which parts of this checklist they can safely handle. The honest answer: the ground-level visual checks, and nothing beyond that. The line between the two is worth understanding.
Safe for most homeowners:
- Visual inspection of the cap, crown, and flashing from the ground with binoculars
- Checking the damper operates smoothly
- Looking inside the firebox for staining, rust, or pest evidence
- Checking the firebox for loose brick or crumbling mortar at eye level
- Keeping the area around the fireplace clear and storing firewood away from the house
Needs a professional:
- Any work on the roof, including the cap, crown, and flashing. Roofs are steep, and a fall is a serious injury.
- Anything inside the flue. The flue is a confined space with deposits that can be hazardous, and the tools and camera equipment to do it properly aren’t something you can improvise.
- Liner inspection and repair. This requires camera equipment and knowledge of what a sound liner looks like.
- Smoke chamber coating checks and repair. This is specialist work with heat-rated materials.
- Any structural repair to the crown or masonry. This is where HeatShield and the right materials make the difference between a repair and a patch.
We’d rather tell you honestly that a job can wait than sell you work you don’t need. Nothing gets recommended without camera evidence you can see for yourself. That’s the standard we hold ourselves to, and it’s why we work with the same brands certified chimney professionals use nationwide, so the repair lasts.
How to Document Condition Year Over Year
Chimney deterioration is gradual, which is exactly why it’s easy to miss. A crack that spreads a little each year doesn’t look alarming in any single inspection. It only becomes obvious when you compare this year to three years ago. Documentation is how you catch that.
Keep a simple chimney log, either a notebook or a folder on your phone. For each check, record:
- Date. The season and month are enough, but a full date is better.
- What you looked at. Cap, crown, flashing, firebox, damper. List each one.
- What you found. “Cap intact, crown has two small cracks near the east edge, flashing sealed.” Be specific about location and size where you can.
- Photos. A phone photo of the crown and flashing from the same angle each time is worth more than any description. Over a few years, the change becomes obvious.
- Who did the work. Note which items were checked by you and which by a professional, and keep the professional’s written report and any camera photos with your log.
- Repairs made. What was repaired, with what materials, and when. If a liner section or crown was resurfaced, note the product used.
This log does two things. It helps you spot gradual deterioration before it becomes a repair bill. And it’s a real asset if you ever sell the home, because a buyer’s inspector will ask about the chimney, and a documented history answers that question credibly. A formal inspection report from a chimney professional is the strongest document in that folder, which is why we treat inspection as a core service rather than an add-on.
Crown, Liner, and Smoke Chamber: The Three Expensive Items
Most of the cost in chimney work comes from three components. Understanding what each one does, and how it fails here, helps you prioritize what your checklist uncovers.
The crown. The concrete cap at the top of the chimney that sheds water. In Edinburg, UV exposure and the summer heat cycle crack it over time. A cracked crown lets water into the masonry, and water in masonry leads to spalling, deteriorated mortar, and eventually a much bigger repair. Crown repair is far cheaper than what happens if it’s ignored. This is one of the items where a proper repair, not a tube of sealant, is the right call.
The liner. The liner is the flue inside the chimney that carries smoke and gases out. A cracked or deteriorated liner is a safety issue, not just a performance one, because it lets gases and heat reach the surrounding structure. When a liner needs replacement, a flexible stainless system like DuraFlex lets a professional reline a flue that a rigid liner couldn’t handle, which matters in older Edinburg homes where the flue may not be perfectly straight. Famco venting components cover the connections and terminations that finish the job properly.
The smoke chamber. The sloped area above the damper. Its coating can break down over time, and a rough or deteriorated surface collects deposits and affects draft. HeatShield ceramic resurfacing is a professional-grade system that rebuilds this surface rather than covering it. Many general contractors don’t stock or offer it, which is one reason a chimney-only specialist is the right call here.
These three items are also the most likely to be oversold by contractors who want to sell work you don’t need. Our approach is straightforward: nothing gets recommended without camera evidence you can see for yourself, and if a component is sound, we’ll tell you it can wait.
Common Mistakes to Avoid
- Skipping the sweep because the fireplace “didn’t get much use.” Creosote accumulates even with light burning, and a slow buildup is easy to misjudge. Book the sweep based on your burning habits, not your memory of how often you used it. A trained eye can measure the buildup; you can’t from the couch.
- Leaving the flue uncapped through summer. This is the single biggest driver of moisture and pest damage in Edinburg. A cap costs far less than the crown and masonry repairs that follow a wet summer.
- Patching a crown with sealant instead of repairing it. Sealant over a cracked crown traps moisture and hides the problem. The repair should address the actual crack and the drainage, not just cover it.
- Hiring a general handyman for chimney work. Chimney work is a single trade for a reason. The materials, the tools, and the knowledge of flue systems don’t come from general experience. Generalists may not stock or offer HeatShield, and they may not have the camera equipment to show you what’s actually wrong.
- Ignoring moisture staining because the fire still burns. A fire can burn fine while water is quietly working into the firebox masonry. Staining and rust are early warnings, and early action is cheaper.
- Never documenting anything. Without a log and photos, gradual deterioration goes unnoticed until it’s a major repair. Five minutes a year in a notebook pays for itself.
- Letting pests nest and lighting a fire anyway. A blocked or partially blocked flue affects draft and is a safety concern. If you find a nest, don’t burn until the flue is cleared and checked.
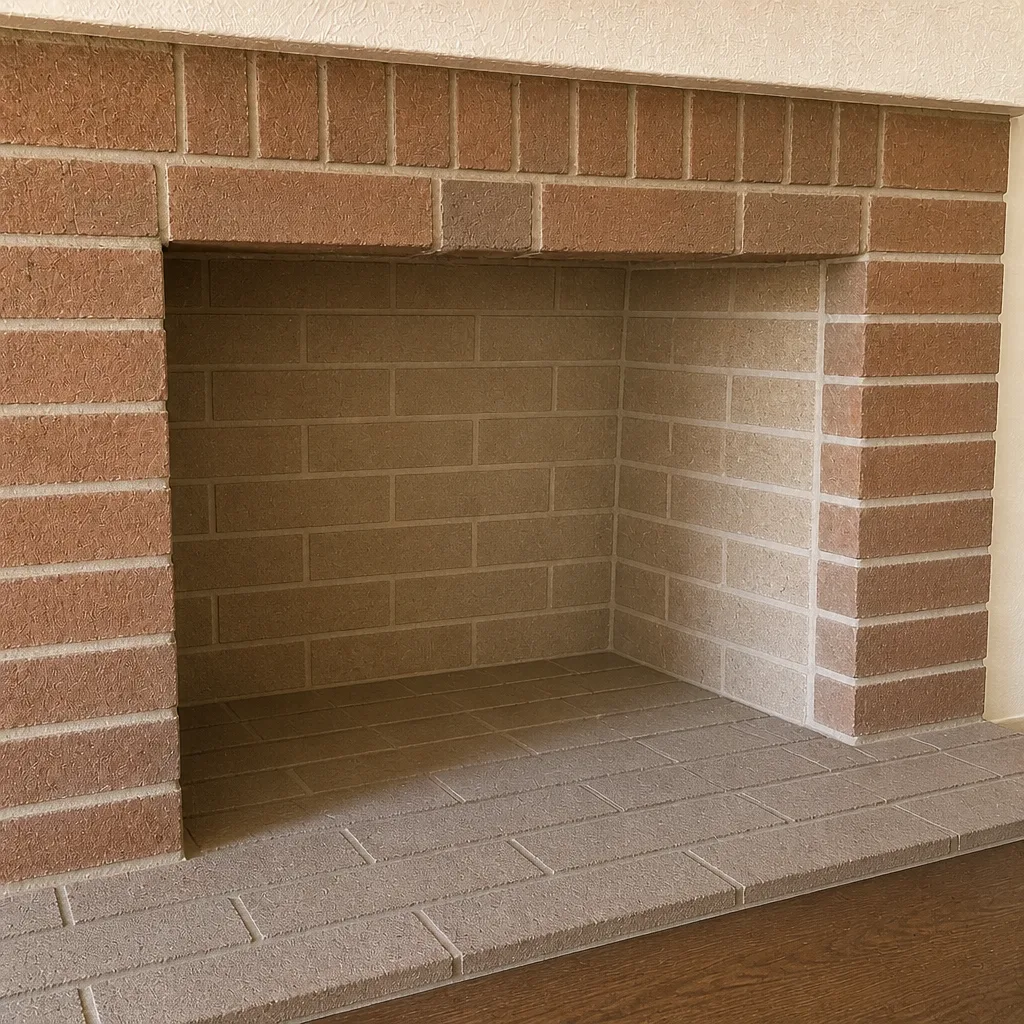
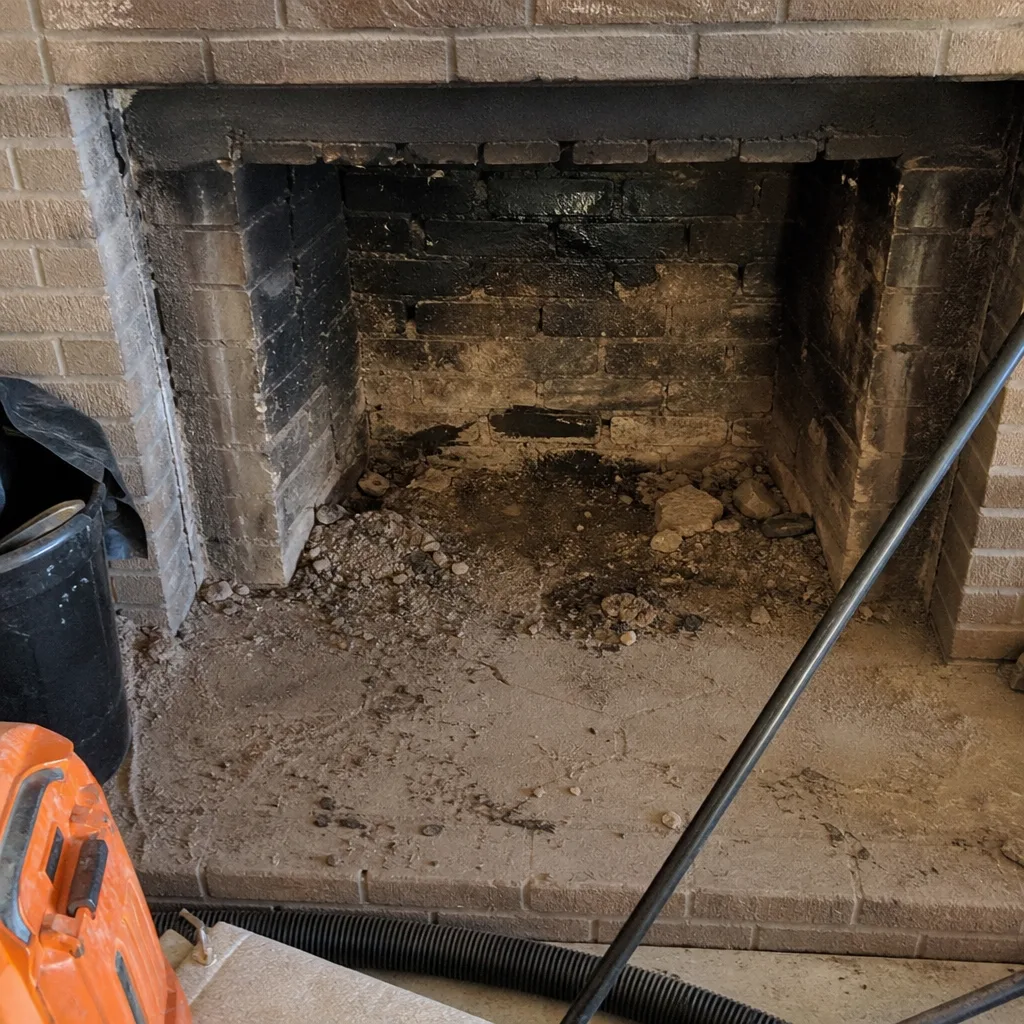
See the difference
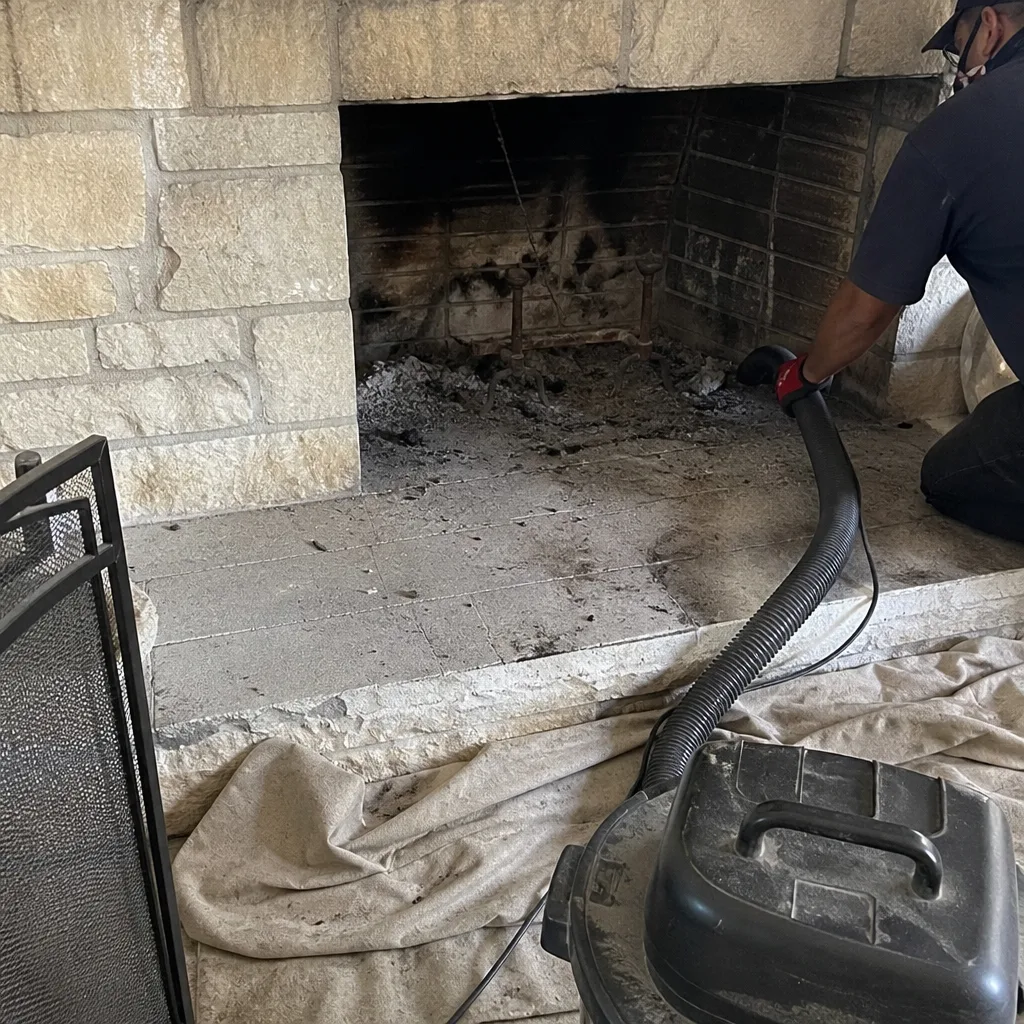 Before
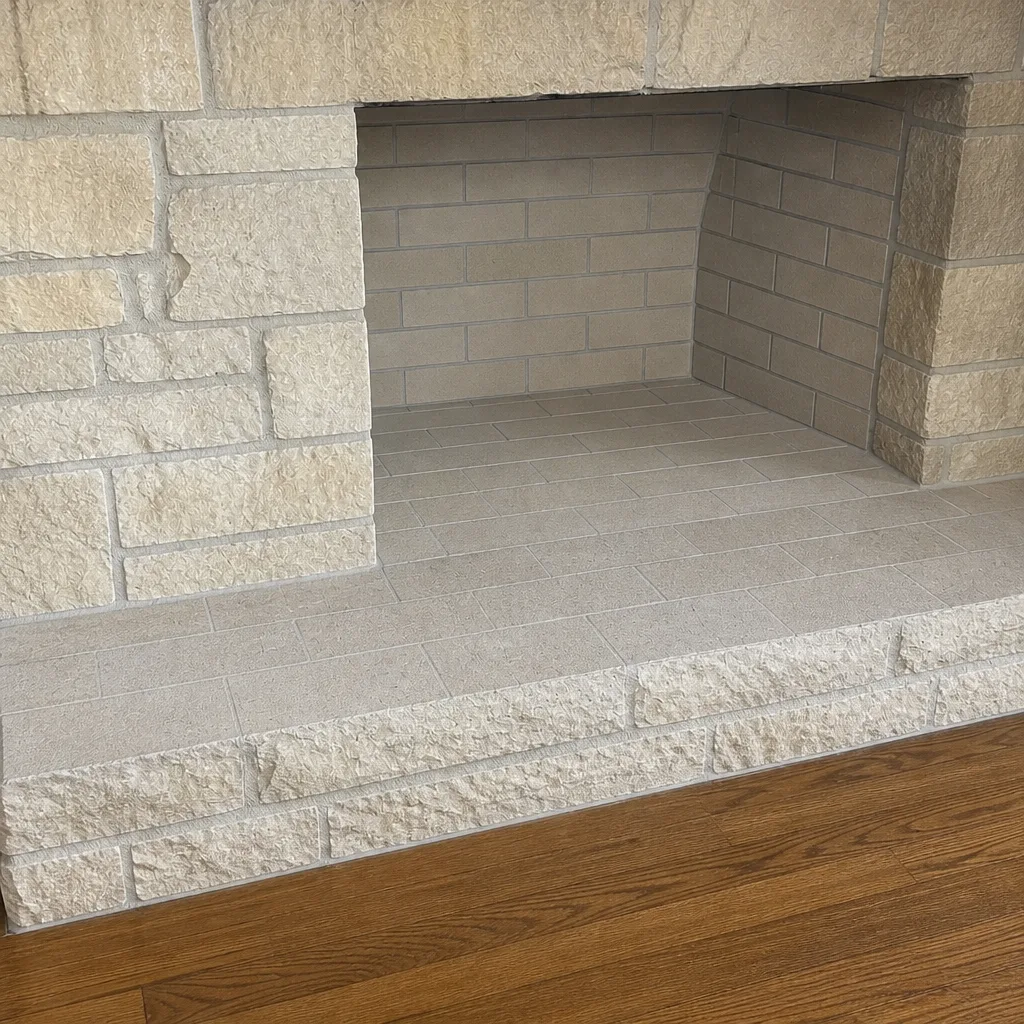 After
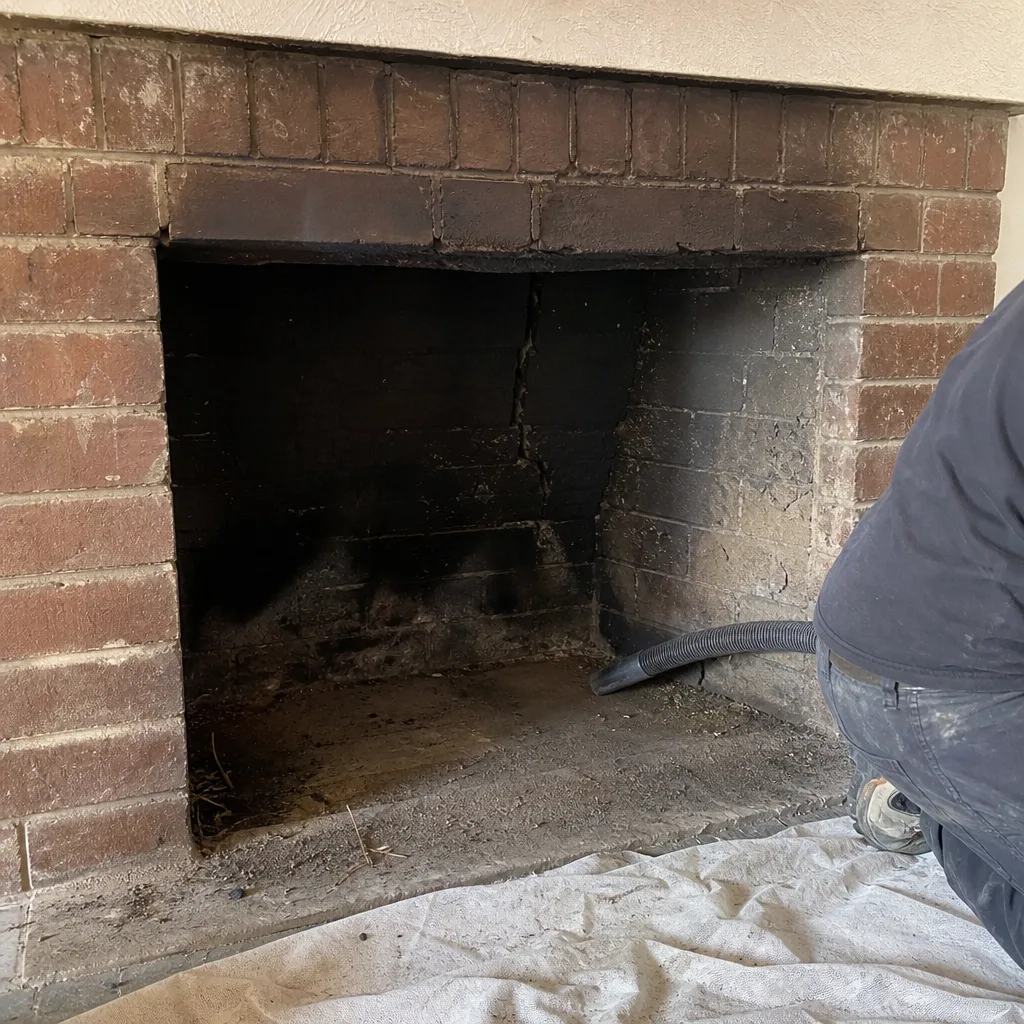 Before
 After
 Before
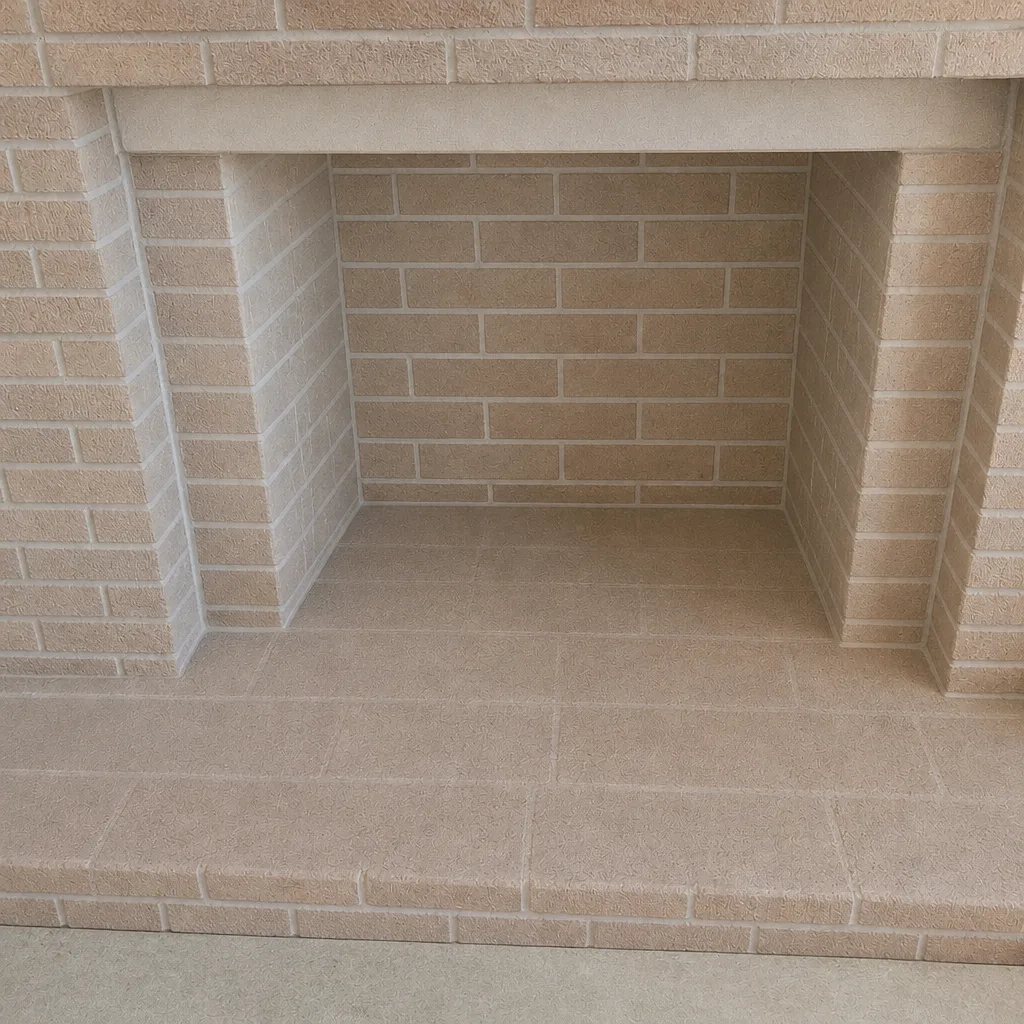 After
When to Call a Professional
Some items on this checklist are judgment calls, and a few are clear signals to call. Call a professional if you find cracks in the crown, gaps in the flashing, staining or rust inside the firebox, evidence of a nest in the flue, a damper that won’t seal, or any sign of liner damage. Call if it’s been more than a year since a regular-burning fireplace was swept, and call before you light the first fire if anything above looked wrong during the October check. Our technicians have up to 8 years of experience and handle sweeping, repair, and inspection as a single point of contact, so you’re not coordinating multiple contractors. Chimney Sweep Edinburg offers free estimates in Edinburg. Call (833) 754-6303.
Frequently Asked Questions
Once a year for a regularly used wood-burning fireplace, and any time creosote reaches about 1/8 inch. In Edinburg’s mild climate the burning season is shorter than up north, so some homeowners can go longer between sweeps, but annual inspection is still the safe default because it catches liner and crown issues early. Call (833) 754-6303 for an exact quote on a sweep, and estimates are free.
Yes, and it’s the highest-value item on the checklist. South Texas humidity and summer storms make an uncapped flue a moisture trap, and an open flue invites wasps, birds, and other nesting pests. A stainless cap fitted during a pre-season visit prevents the most common and most expensive damage we see here. Call (833) 754-6303 to have yours checked.
A typical sweep in the Edinburg area runs within a modest range depending on flue condition and access, and an inspection is often included or quoted separately. The written estimate sets the final price, and we scope the work to what your chimney actually needs. Call (833) 754-6303 for an exact quote, and estimates are free.
Creosote builds up and becomes a chimney fire risk, while an uncapped flue lets moisture and pests in, leading to crown and masonry damage that costs far more than a routine check. The damage is gradual, which is why it’s easy to miss until it’s a major repair. The checklist in this guide is designed to catch it early. Call (833) 754-6303 to book a pre-season inspection.
You can safely do the ground-level visual checks: cap, crown, flashing, damper, and firebox inspection. Anything inside the flue or on the roof should be left to a professional because of the fall risk and the confined-space work involved. A proper sweep also includes camera inspection and a photo report you can review. Call (833) 754-6303 for a professional sweep.
October, before you light the first fire, and again in March after the season ends. The mid-summer cap and flashing check fills the gap. If you’re preparing to sell a home, arrange an inspection early so any repair can be documented before the buyer’s inspector arrives. Chimney Sweep Edinburg covers sweeping, repair, and inspection in one place. Call (833) 754-6303 to schedule.
The Bottom Line
An Edinburg chimney doesn’t fail from heavy use. It fails from neglect during the months it sits idle. The checklist that prevents that is simple: an October pre-season inspection and sweep, a March post-season creosote and pest check, and one mid-summer look at the cap and flashing. Do the ground-level checks yourself, document what you find with photos and notes, and bring in a chimney professional for anything above the firebox or on the roof. Our technicians have up to 8 years of experience, and we work with the same brands certified chimney professionals rely on, from DuraFlex liner systems to HeatShield ceramic resurfacing, because a repair should hold up. If you want a full inspection, a sweep, or a repair scoped to what your chimney actually needs, Chimney Sweep Edinburg is the single point of contact. Call (833) 754-6303 for a free estimate. We answer 24/7. Fast dispatch from 7am to 7pm, Sunday through Friday. Our full service area includes Indian Hills, and you can start from our Chimney Sweep Edinburg home page to see everything we handle.
Written by the team at Chimney Sweep Edinburg.